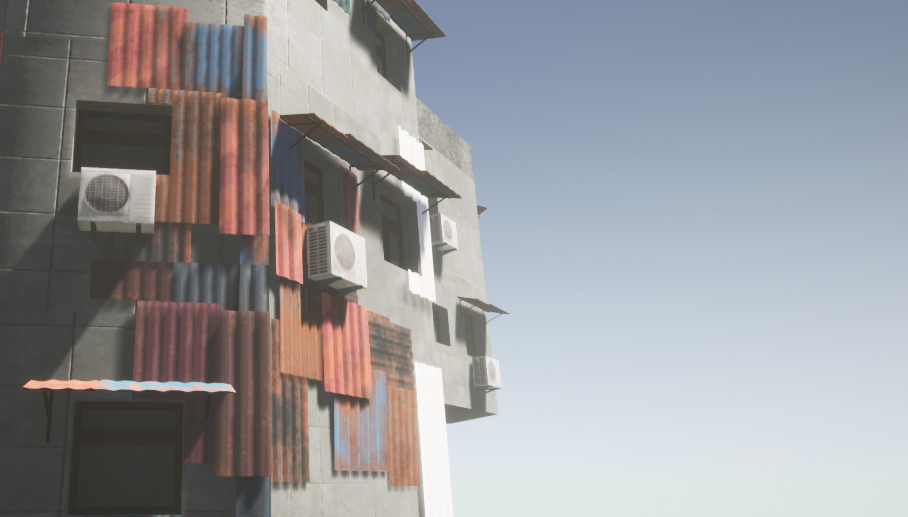
BLOCKOUT BLOCKS
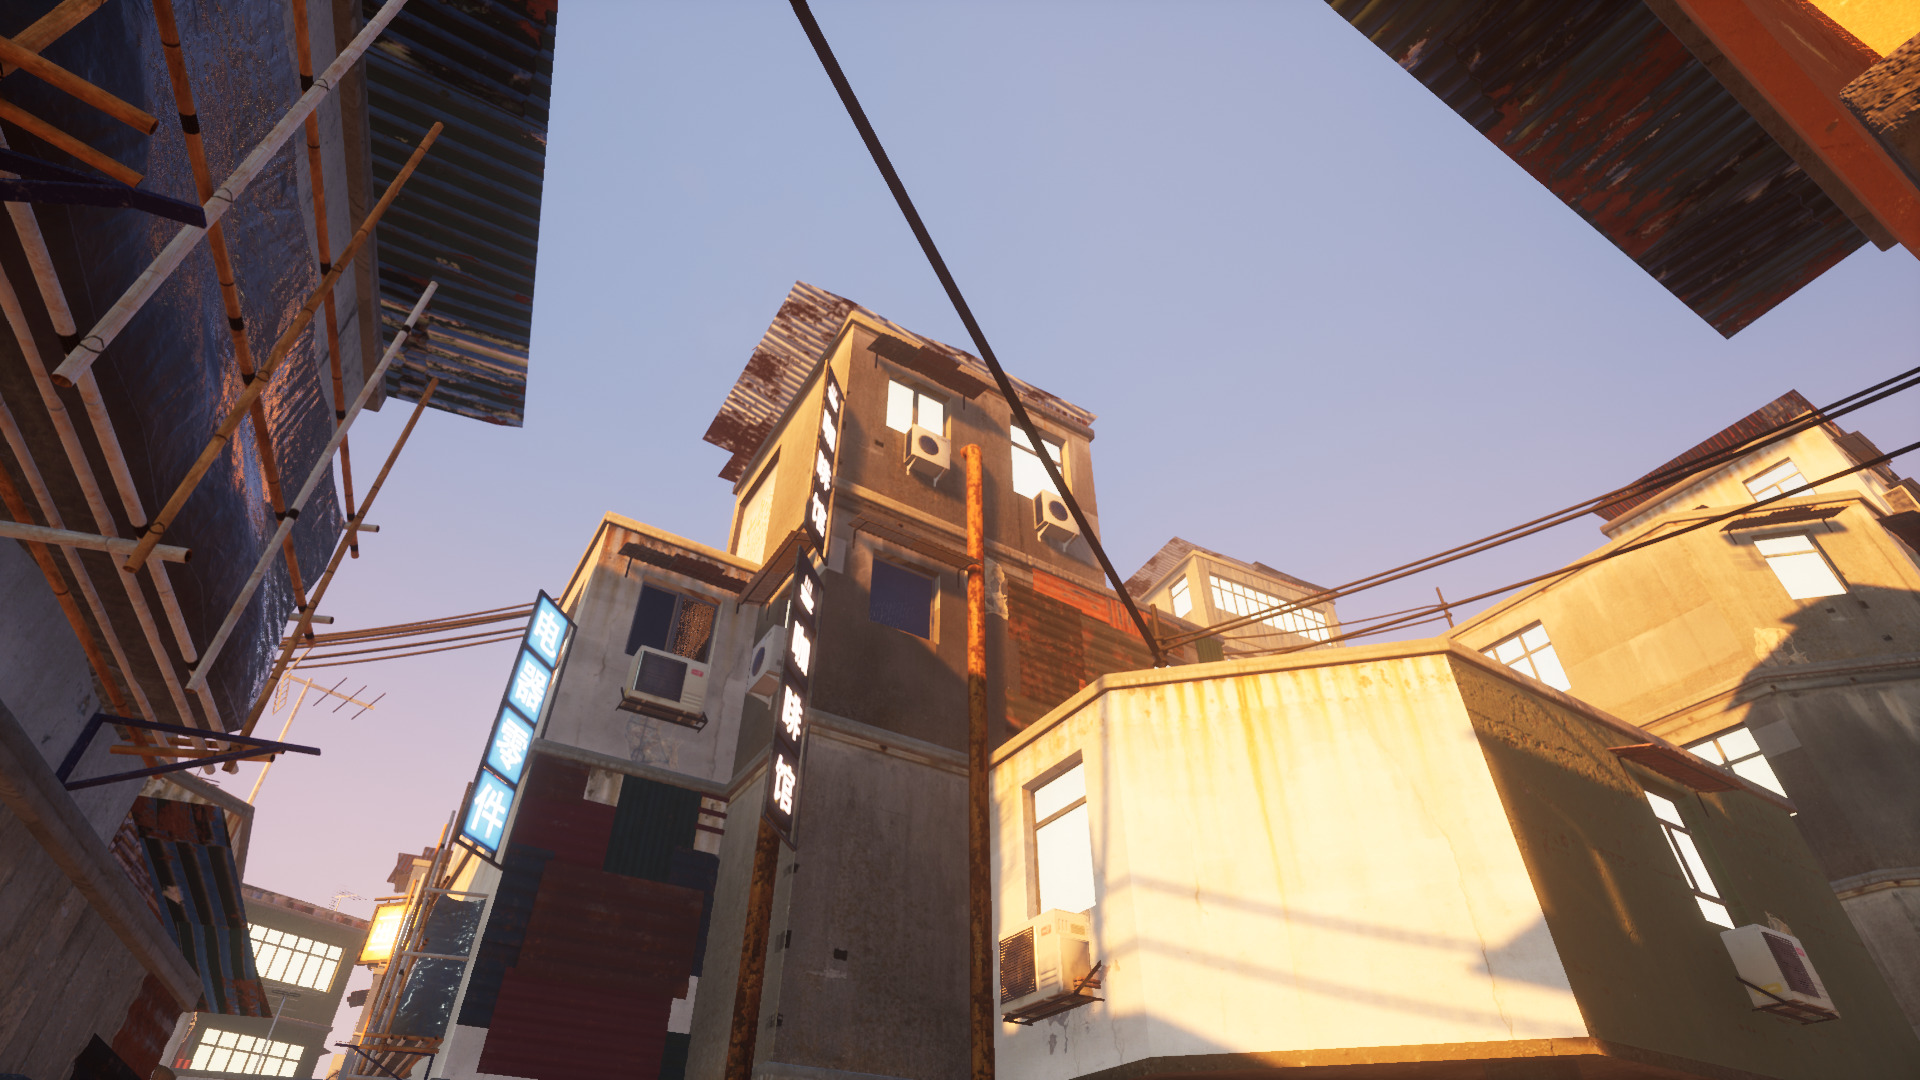
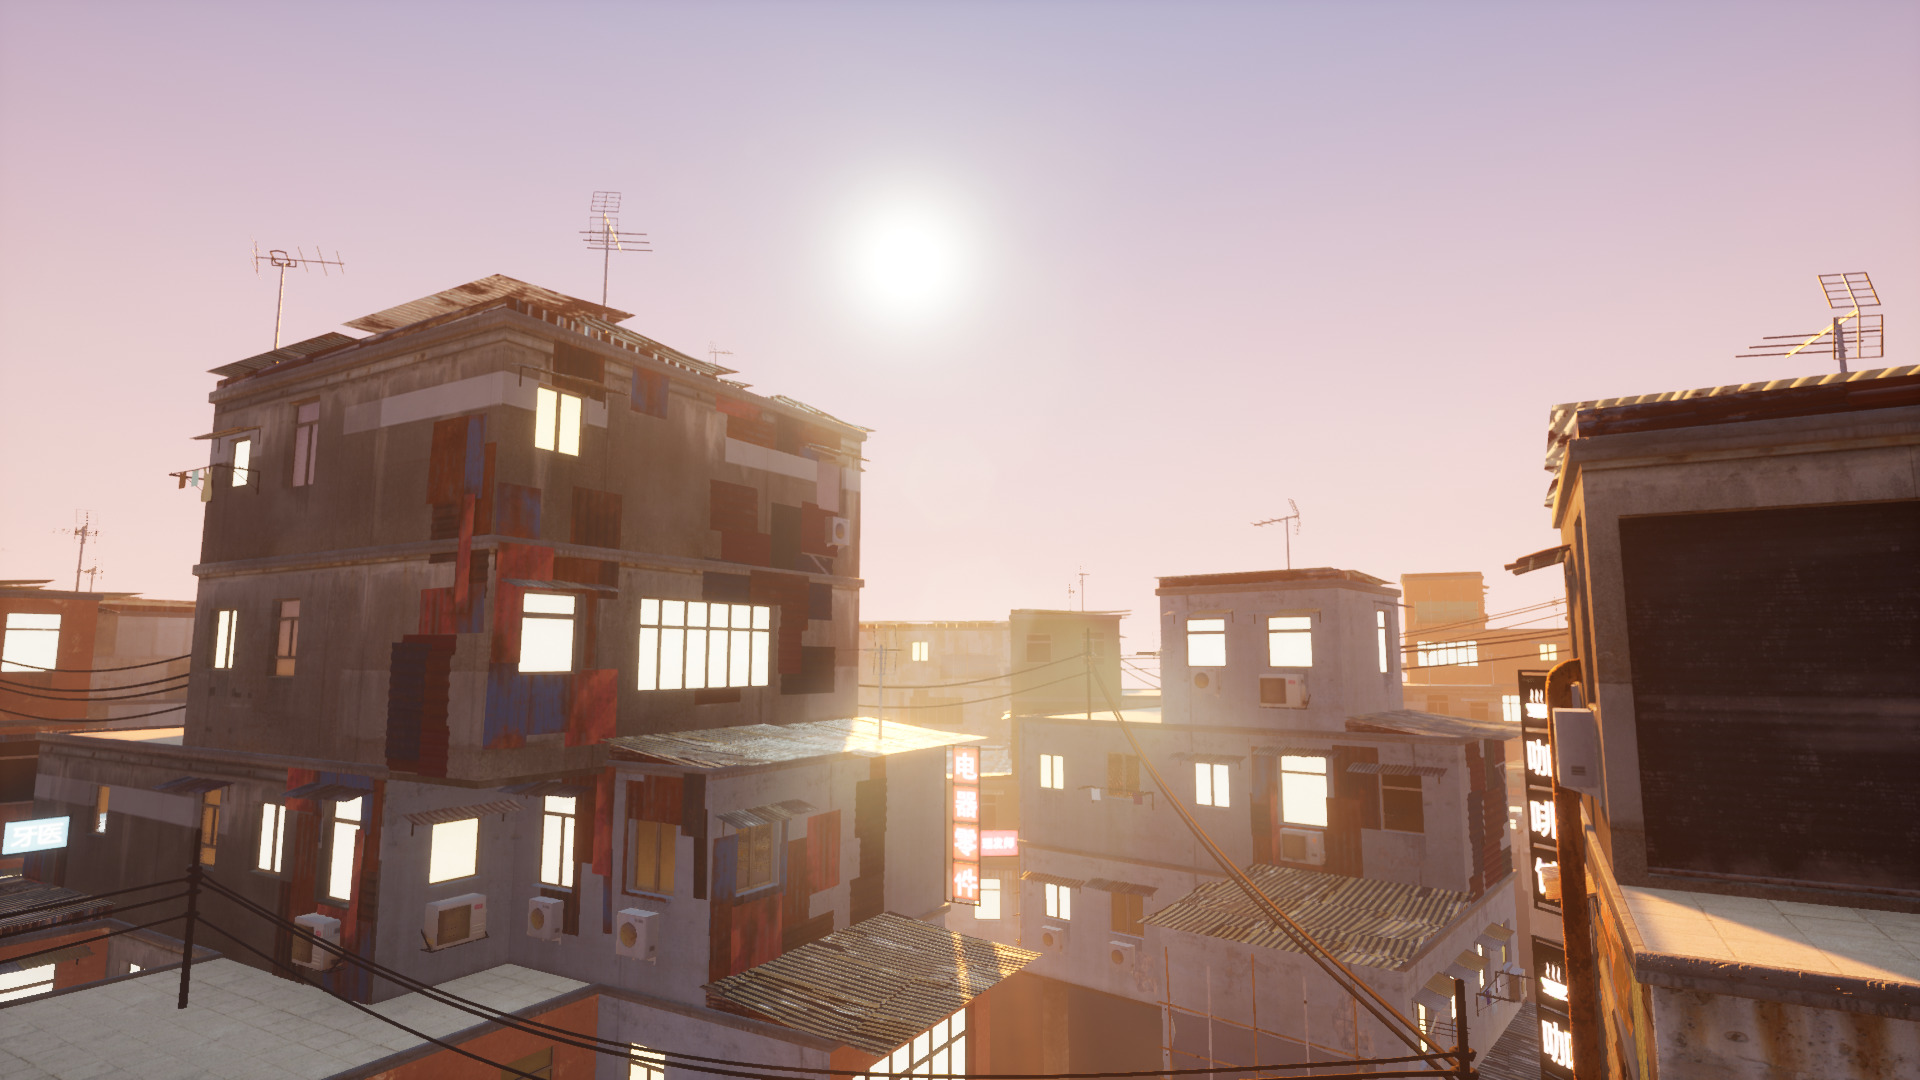
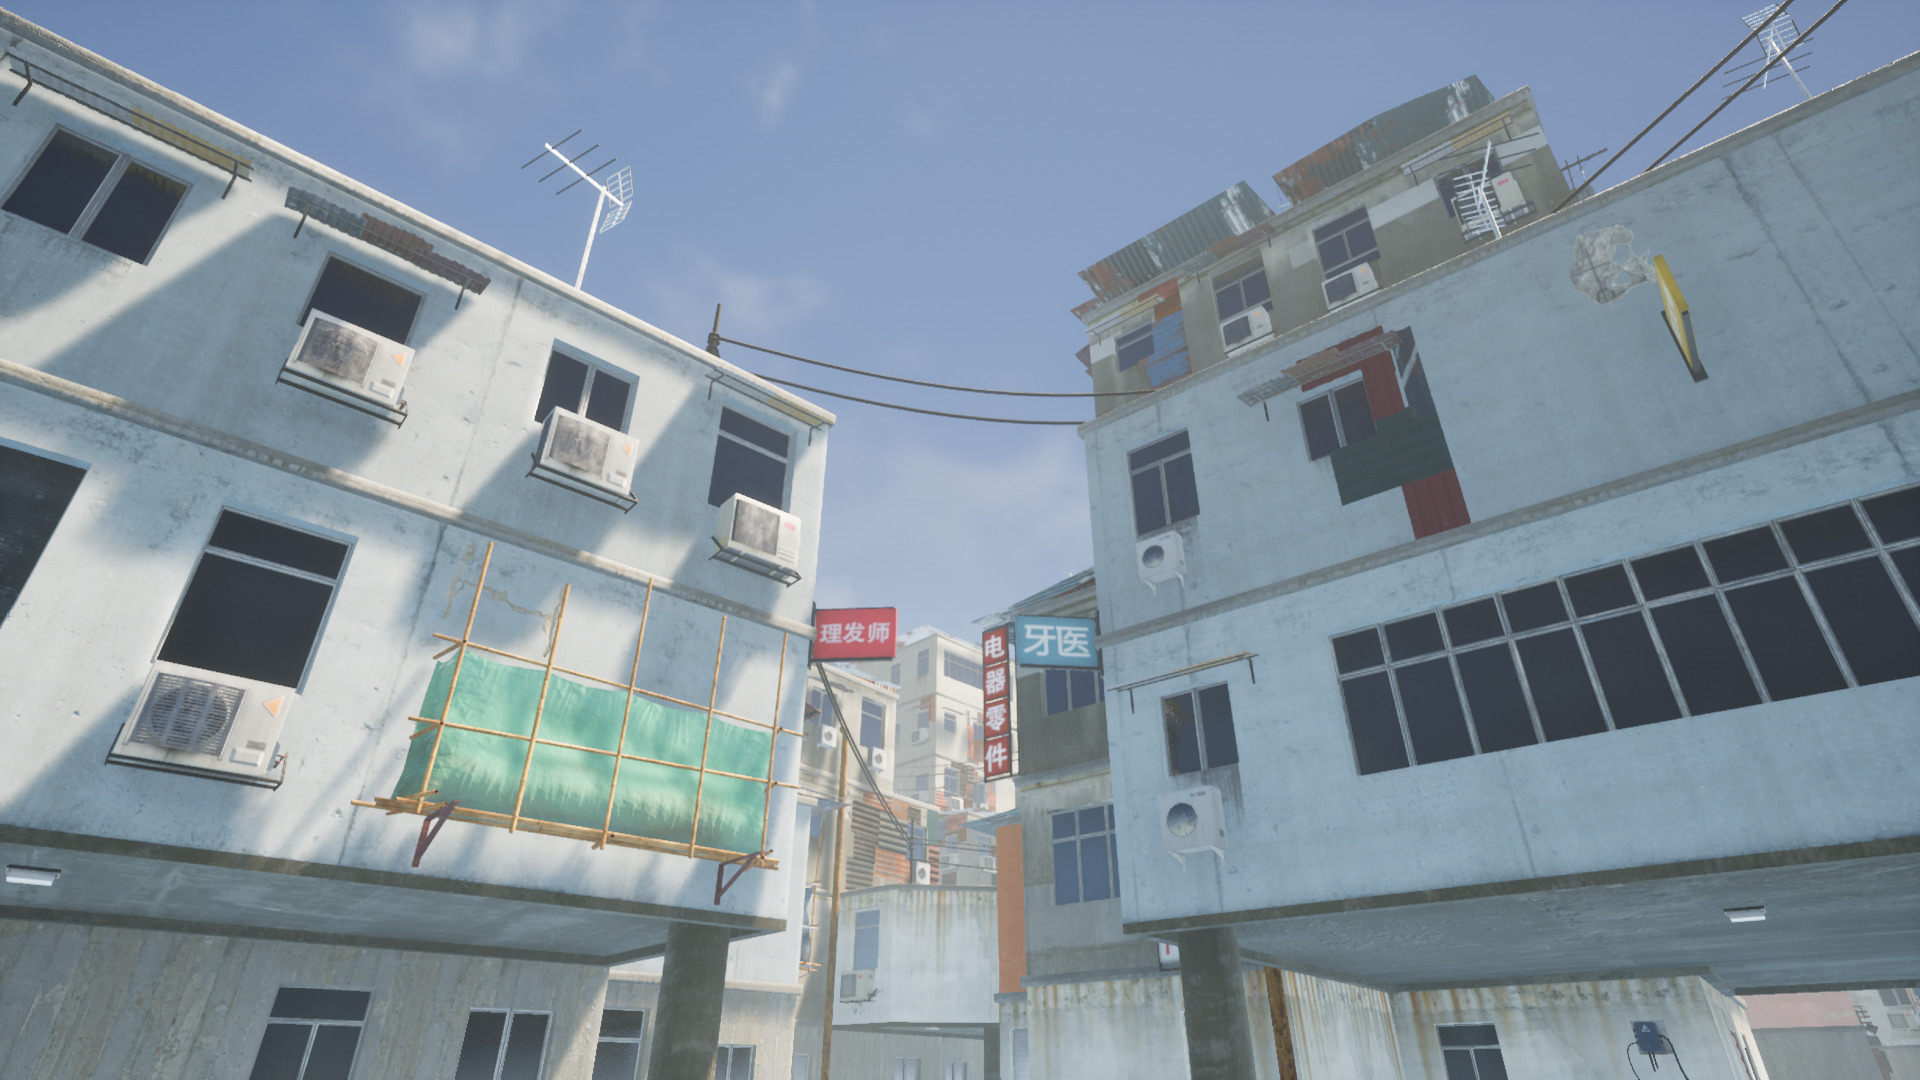
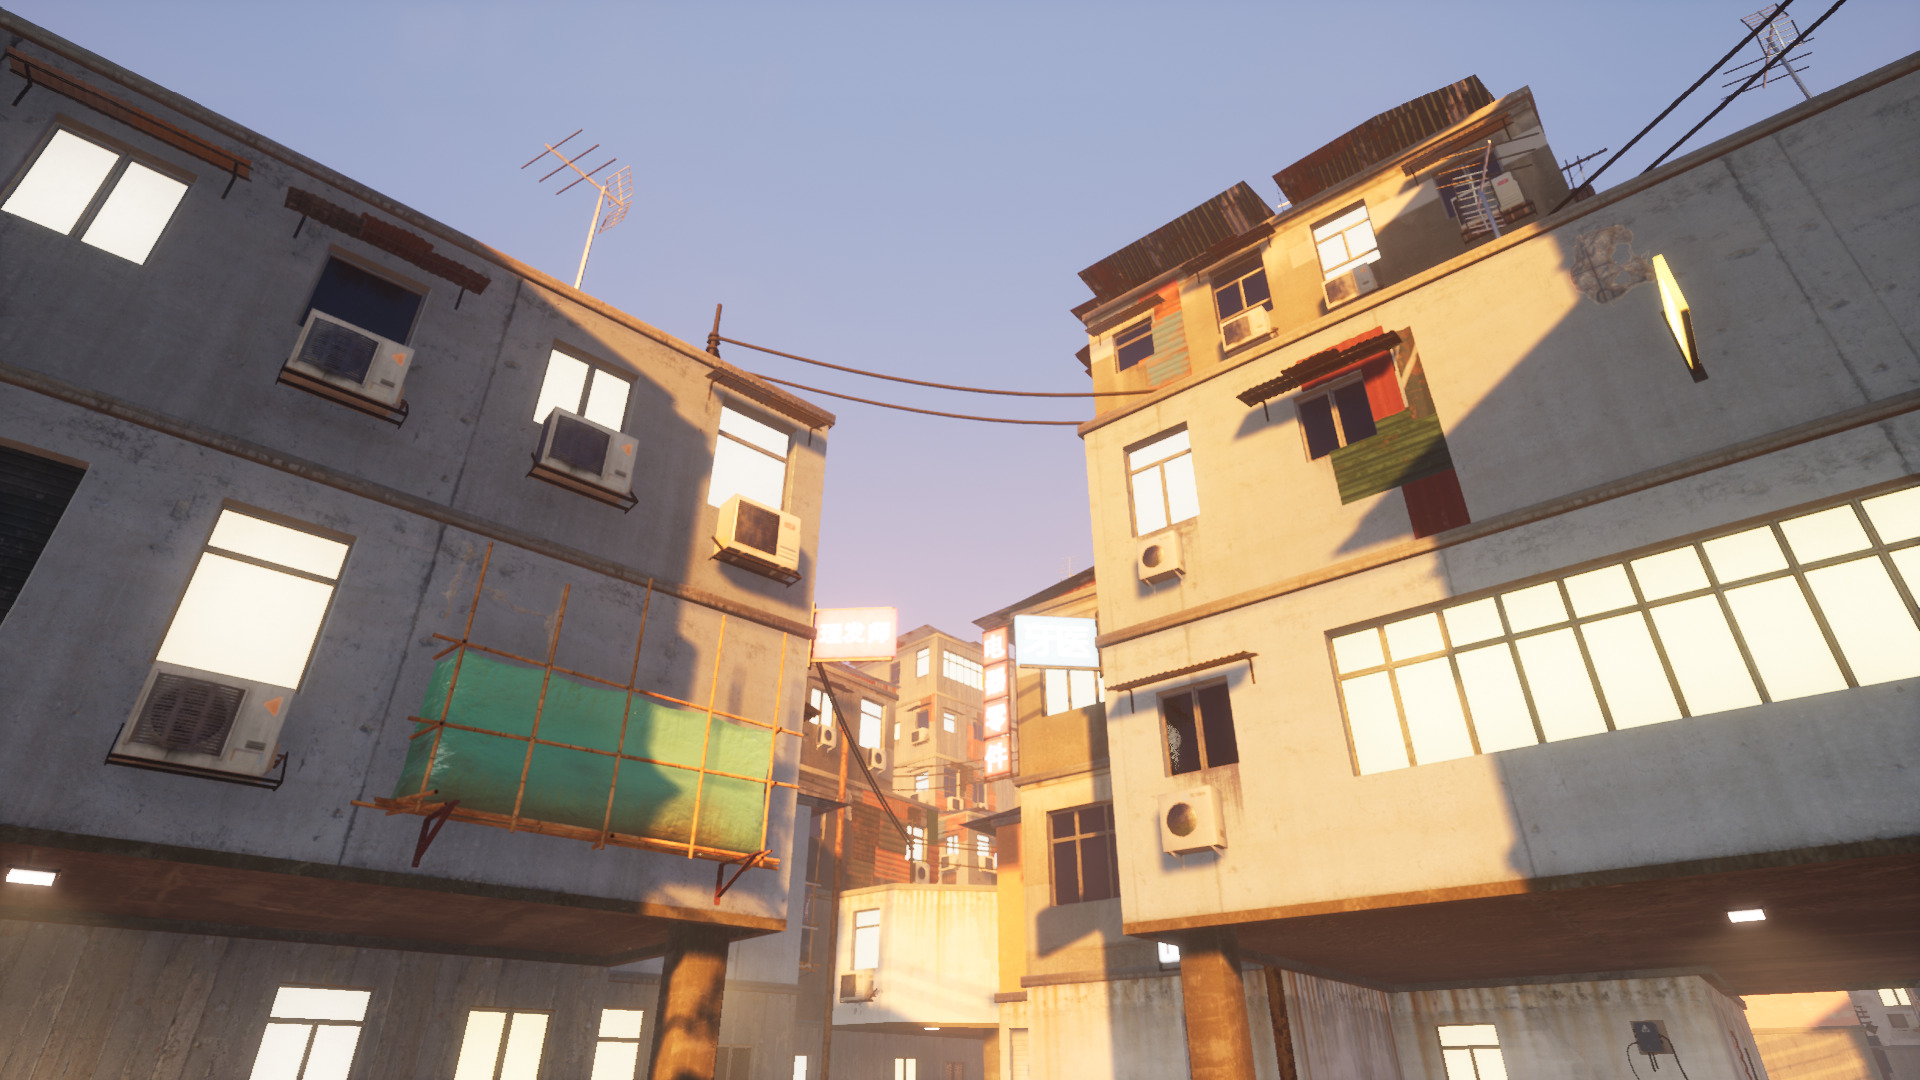
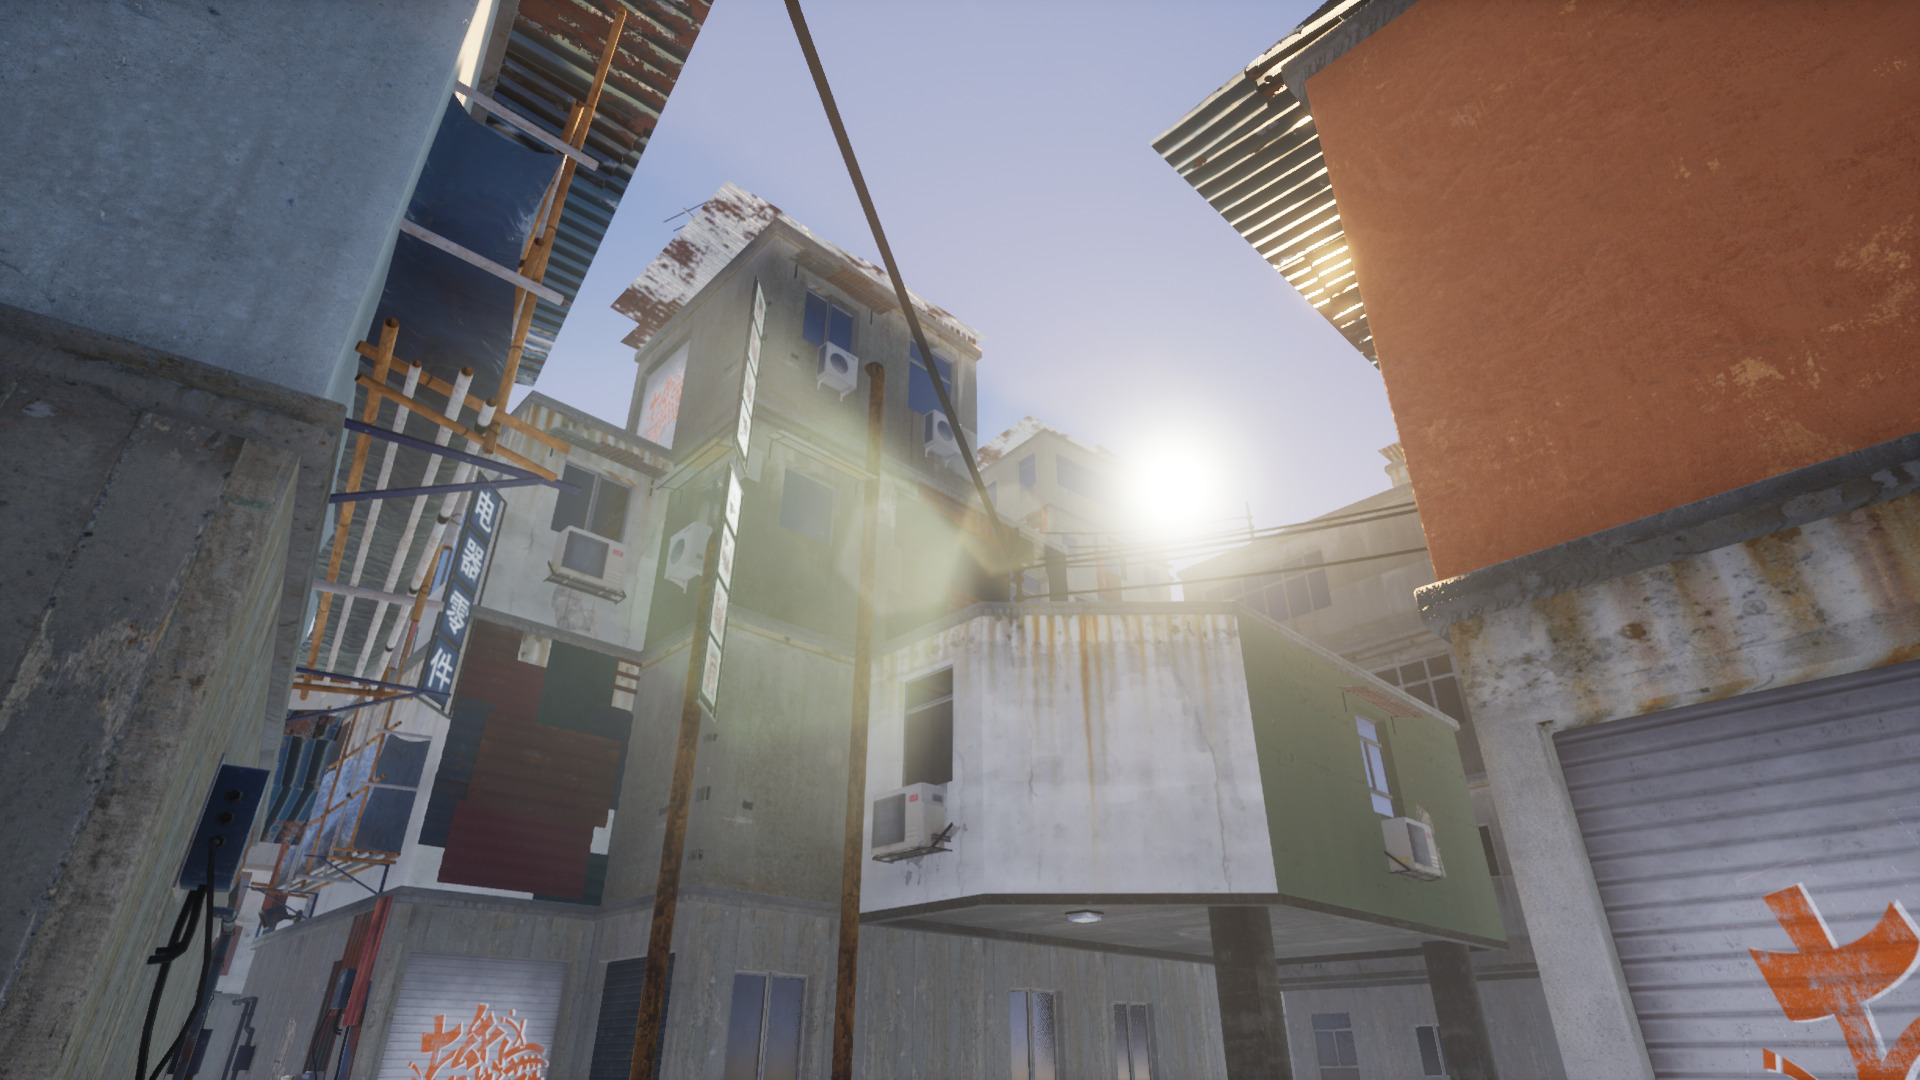
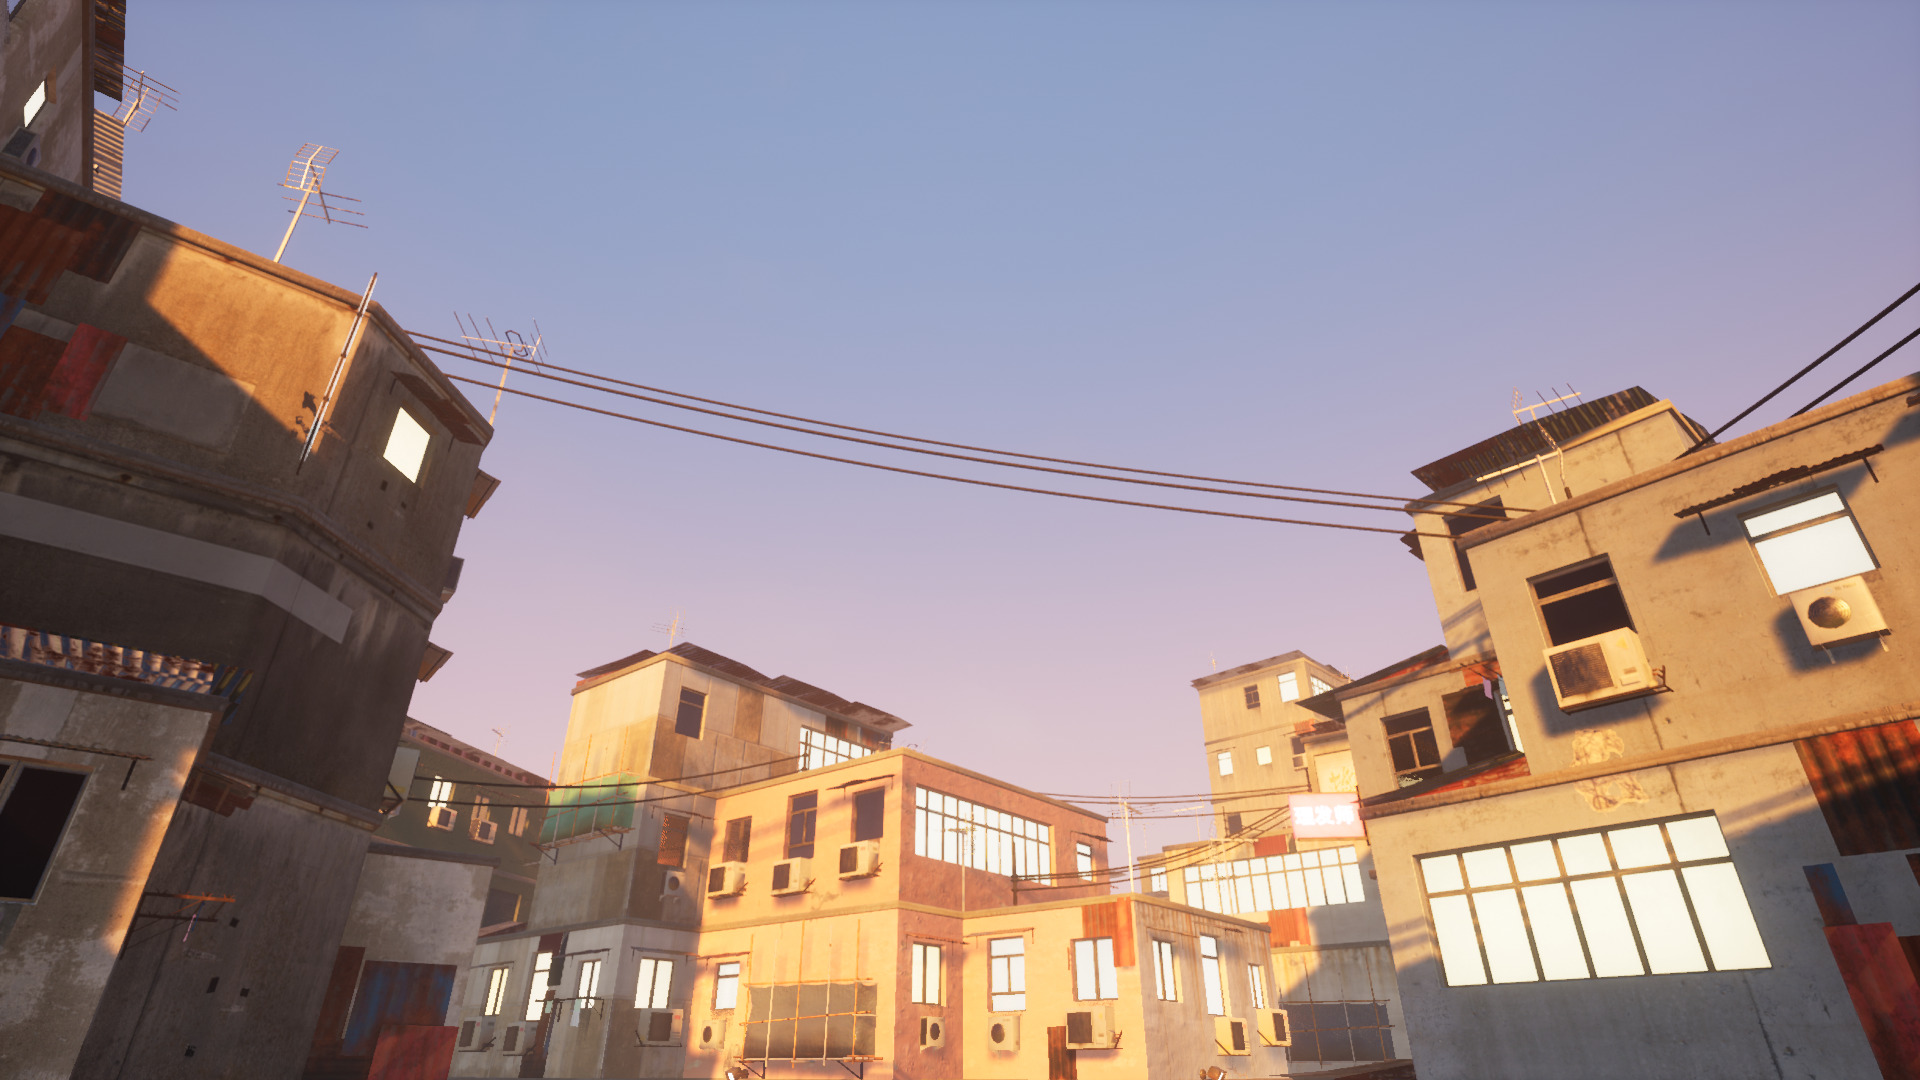
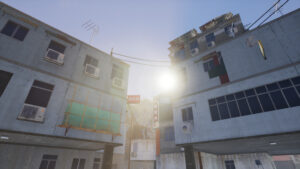
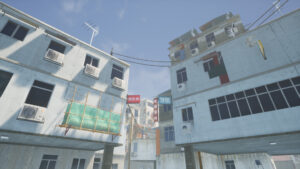
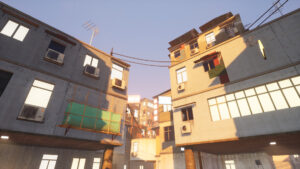
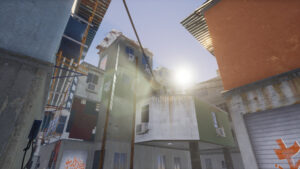
I made a procedural building generator that can be used in Unreal Engine via Houdini Engine to create buildings quickly from a simple box-blockout. As this project wasn’t developed for a specific use-case or game, it was mainly used to learn more of what Houdini is capable of and how I can incorporate procedural workflows into projects in the future.
PROJECT INFO
Date
7th Semester, 2021–22
Duration
~3 1/2 months
Tech
Houdini, Houdini Engine, Unreal Engine 4, UE4 Materials, UE4 Blueprints, Substance Painter, Substance Designer, Photoshop
My Part: This was my Bachelor’s project, so I created it myself. I used Megascans textures for the wall materials.
My main learnings: I wanted to use the time of the Bachelor’s project to learn Houdini and its integration into Unreal Engine. Although Houdini offers so much more, I now feel comfortable with using it for game asset production. I also learned additional tricks, especially for Unreal materials.
My main takeaway is, that these kinds of procedural tools should be developed for a specific use-case. Developing these things take time. So early in production, it should be considered if developing a procedural tool is nessesary or if budget is better spent on a modular asset system. For non-hero assets, Houdini is definitely extremely useful.
SHOWCASE
BREAKDOWN
DEVELOPMENT
How did I work?
I created a timeline where I set milestones for the time of development. To plan and document my work, I used Miro. On each day I could post notes, screenshots or videos to keep myself and others updated. It also enabled me to plan my tasks for the upcoming deadlines.
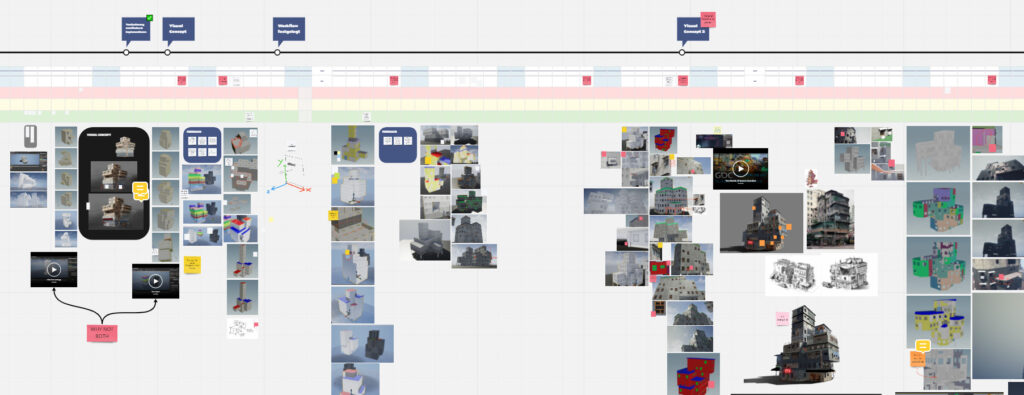
Research And Testing
My first steps were to gather visual and technical reference. I collected reference images of houses I wanted to base my generated building on. Google Street View was immensely helpful for this.
I also looked at other peoples‘ building generators and gathered information and workflows that I could incorporate into my own. Anastasia Opara’s Procedural Lake Village and Marina Alexandra Bade’s Houdini Shanty Town were big helpers to get started on some technical aspects.
Houdini Engine
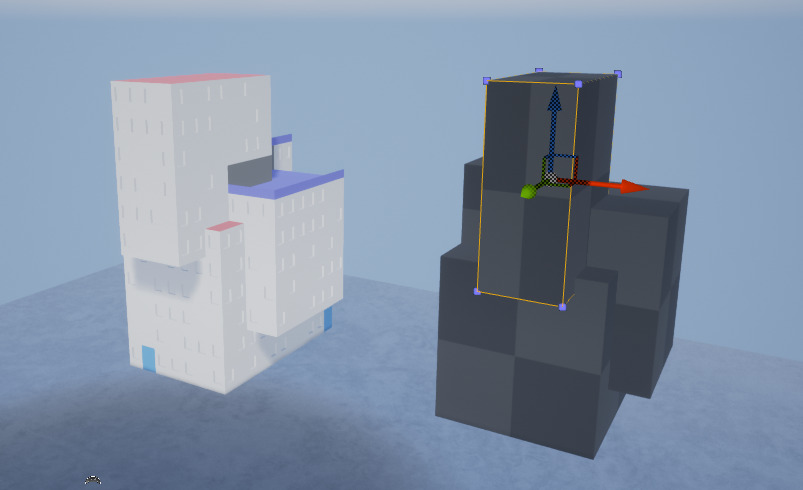
In the final version, the buildings should be created directly in Unreal Engine. I quickly set up a Houdini Digital Asset to test things in engine. I tried multiple approaches for users to create the buildings. The feedback I gathered showed that generating buildings based on a user created box-blockout was the way to go.
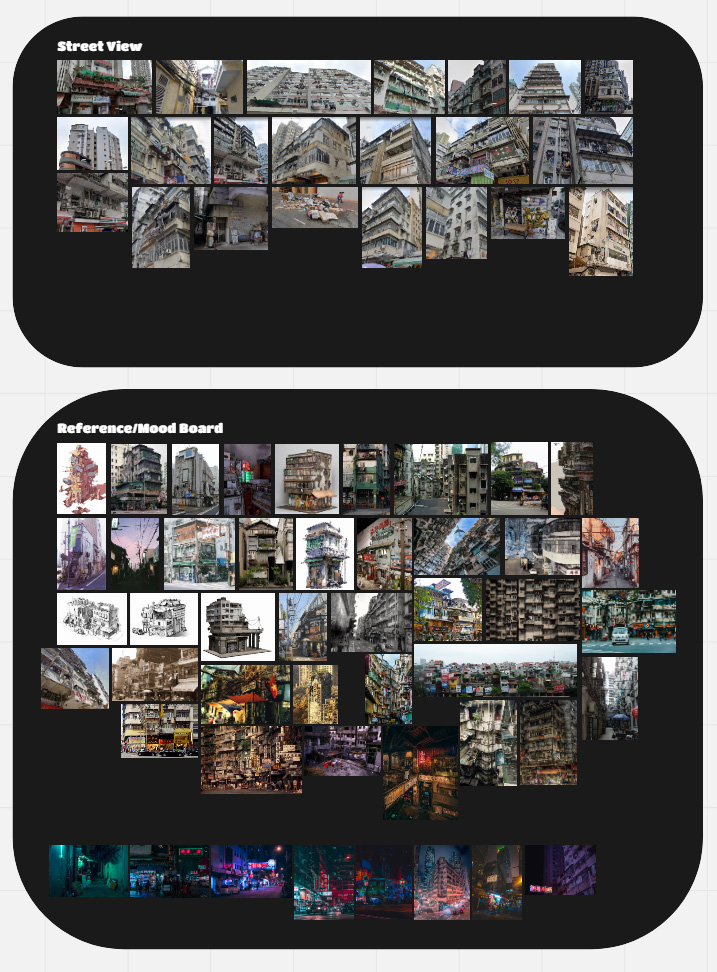
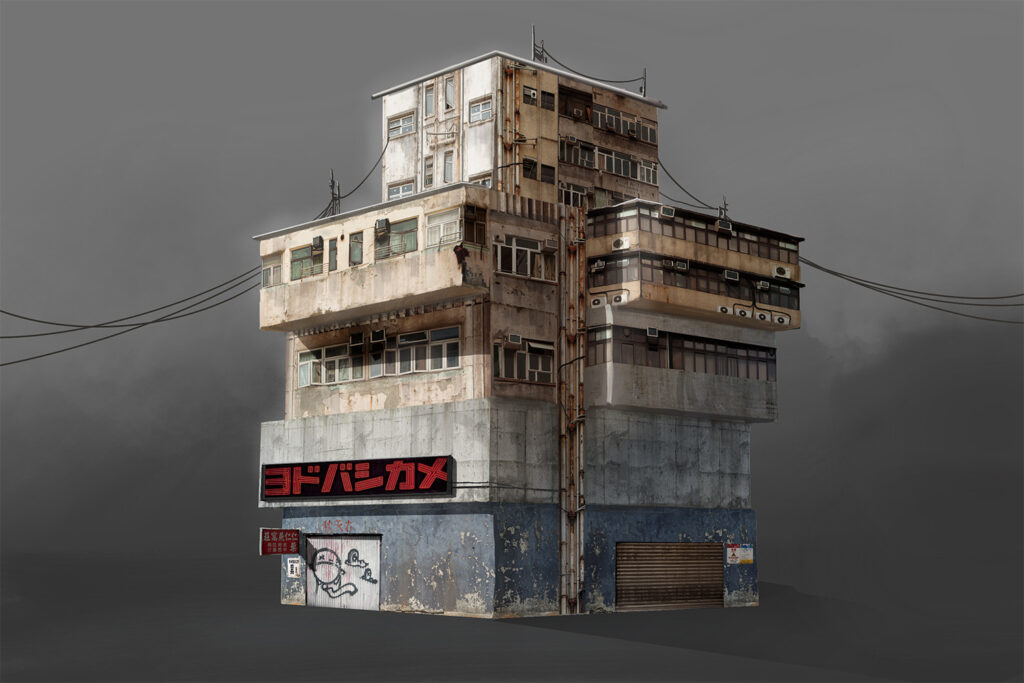
Visual Concept 1
With an idea of what could be achieved in the given amount of time, I created a relatively quick visual mockup of what I wanted a building to look like.
Attributes
Based on the primitive normals and other parameters I was able to tag each primitive with attributes like their floor height or if they should be a wall or a roof.
Roofs
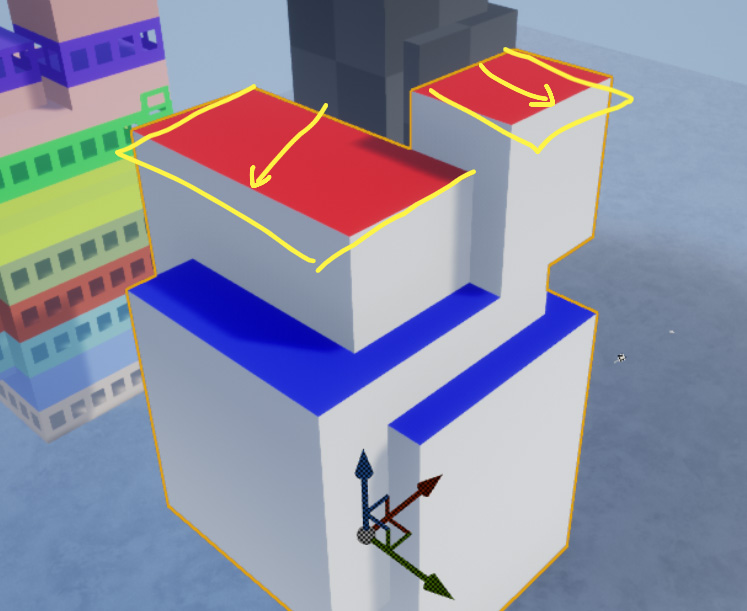
I decided to turn square shaped primitives (red) into angled roofs made of corrugated metal and oddly shaped primitives (blue) into flat roofs. This made it easier to calculate the direction the angled ones should be pointing towards.
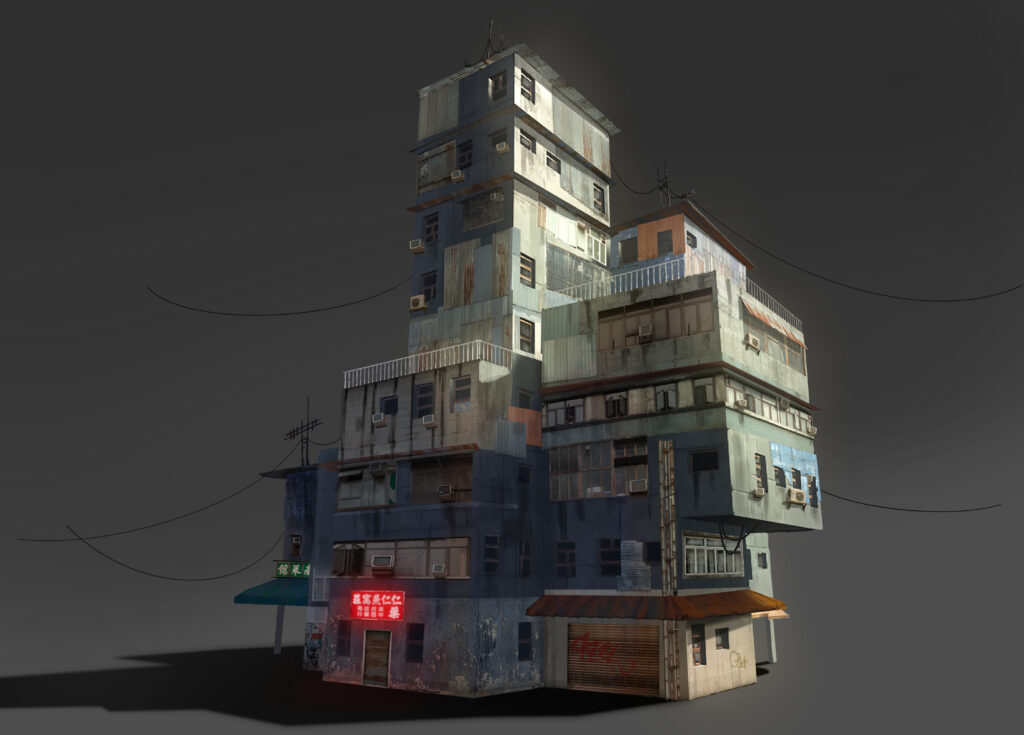
Visual Concept 2
After some testing with materials on the building shell, I created another visual mockup to get an accurate idea on how the materials should be distributed. I also wanted to break up the silhouette and the inner structure more.
Placing Junk
To break up the basic structure of the buildings, I modeled and textured a variation of corrugated metal plates that get placed onto the walls of the buildings. The building shell gets split up into multiple clusters, which are then re-devided. The metal plates get placed onto these newly devided primitives. If there is a window or a door underneath, the part gets cut out via a boolean-function.
Silhouette Shader
To quickly iterate upon the silhouette of the buildings, I created a simple post processing material, that let me see only the silhouette of objects near the camera. I used this to take screenshots and draw onto the silhouette directly in Procreate.
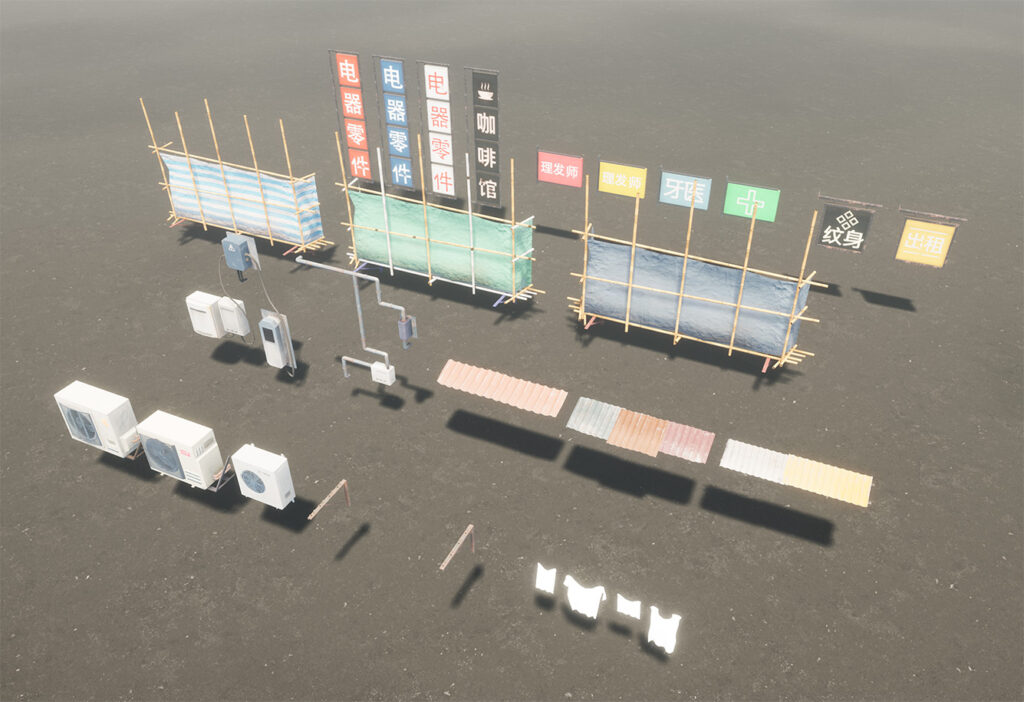
Assets
I modeled and textured objects with some variations to be randomly attached to the house. The building should be performant, so I baked high-poly meshes onto low-poly meshes and shared UV-spaces whenever it was possible.

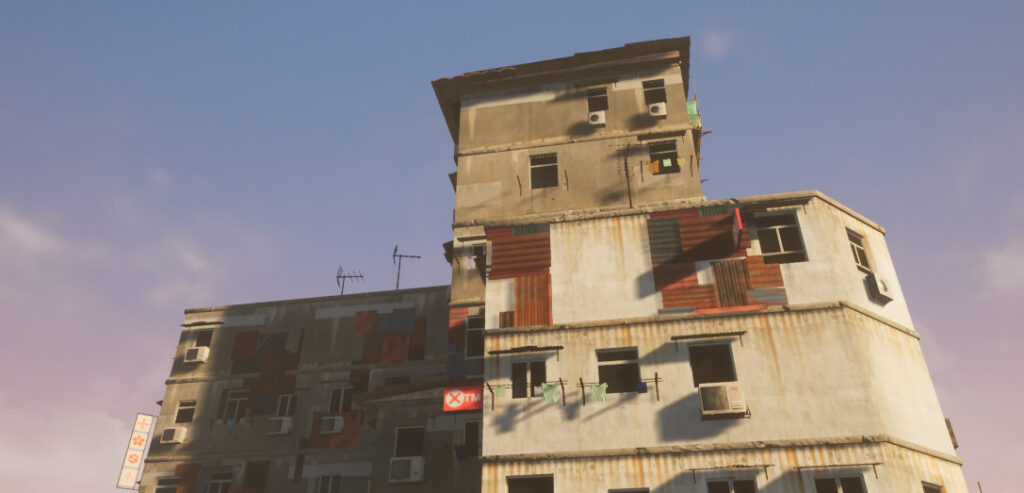
Wall Materials
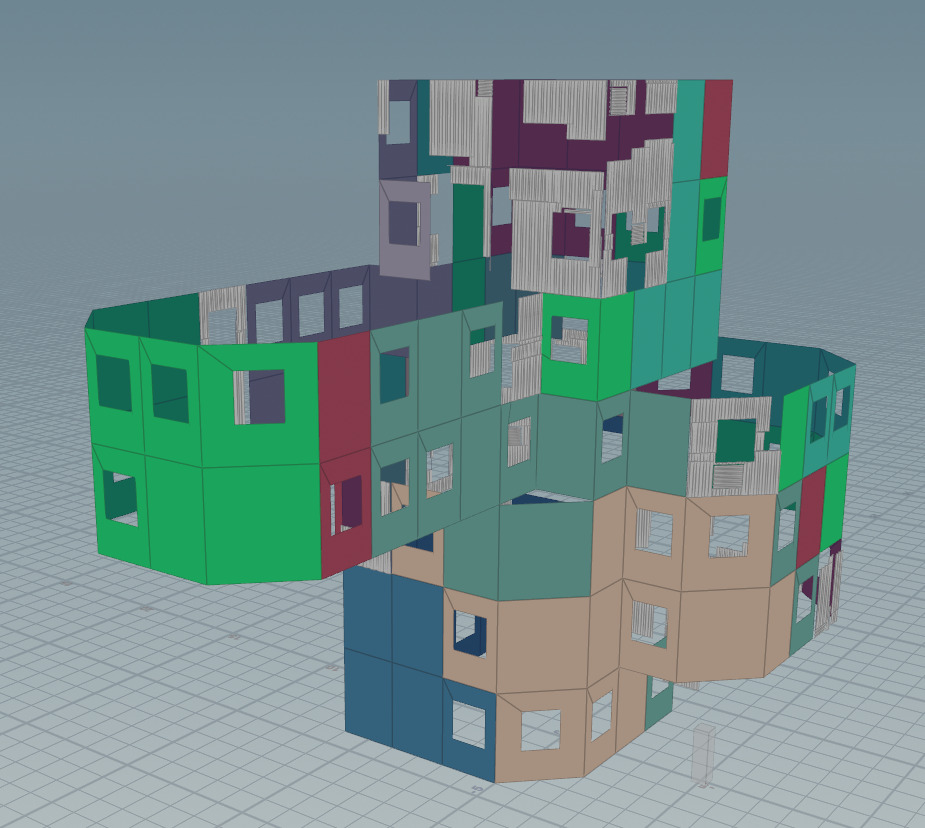
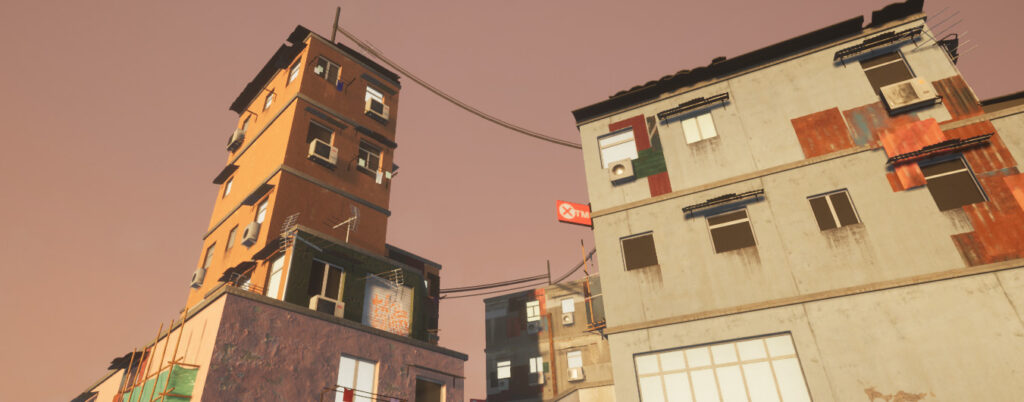
To create fassades, that feel natural, with some parts being overpainted, some parts being worn and some parts being built later, I split up the building shell into different parts. The split is based on each surfaces maximum floor height. If surfaces share the same maximum floor height and are next to each other, they are grouped and share a material.
I created a triplanar material with Megascans textures that could be scaled to fit the building floors exactly.
Decals
During the final steps, I procedurally placed Megascans decals like concrete damages onto the fassades and leakage under the windows that are not protected by rain from an overhang.
Dynamic Clothing
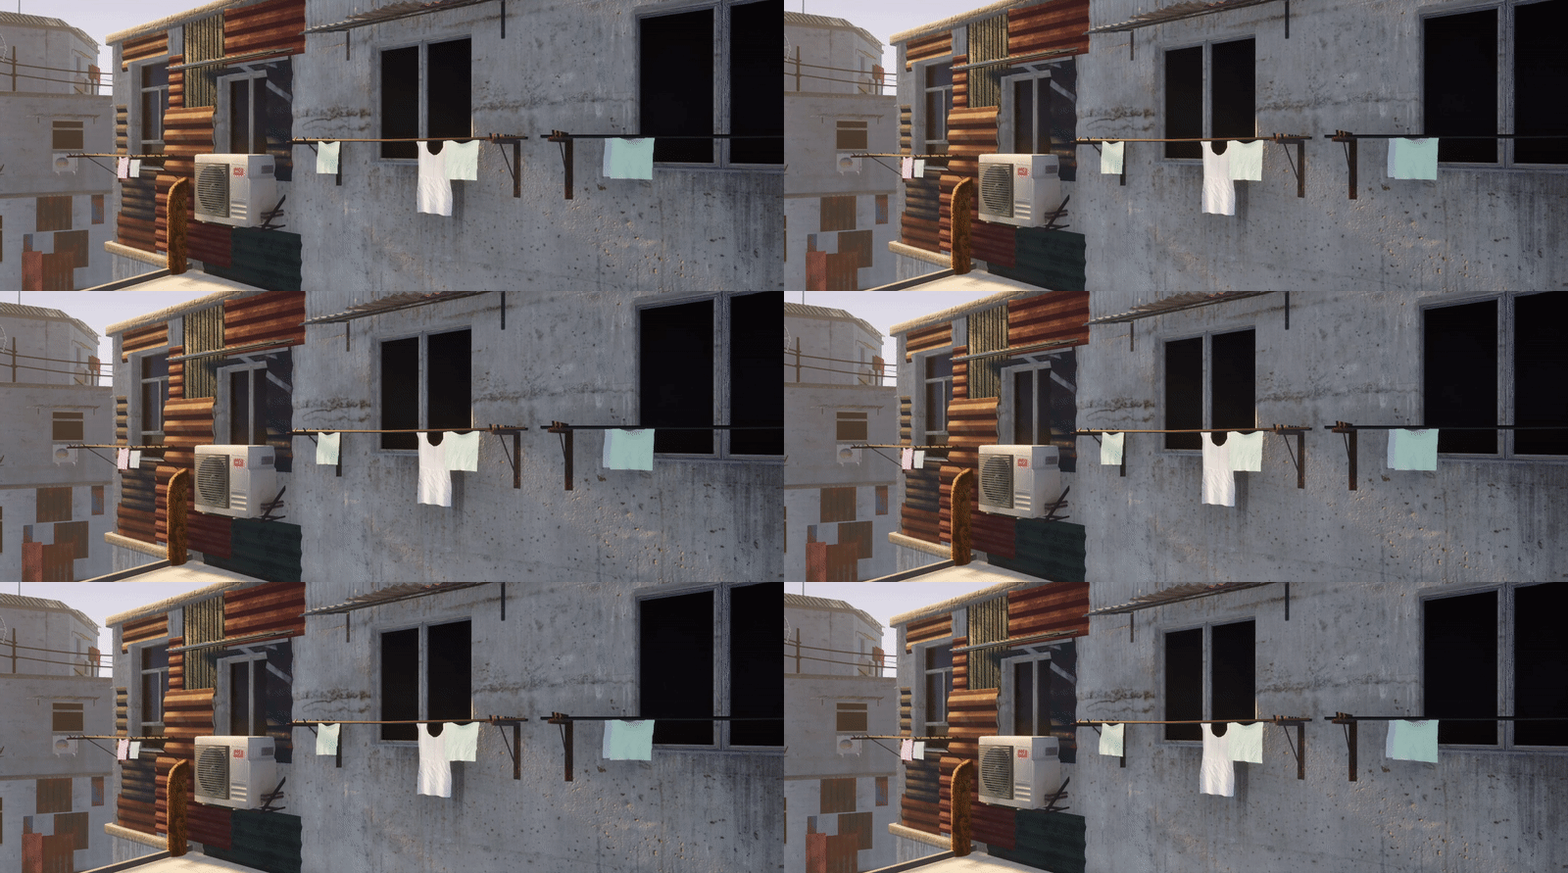
Every window has a chance to have a clothes hanger attached to it. That hanger has the chance to have up to four bars to hang clothes on. Clothes are then placed and each instance gets a random color stored into their vertex colors. These colors are used to fill the Base Color-channel of the material.
In addition, they are moved by a gentle wind.
Lighting
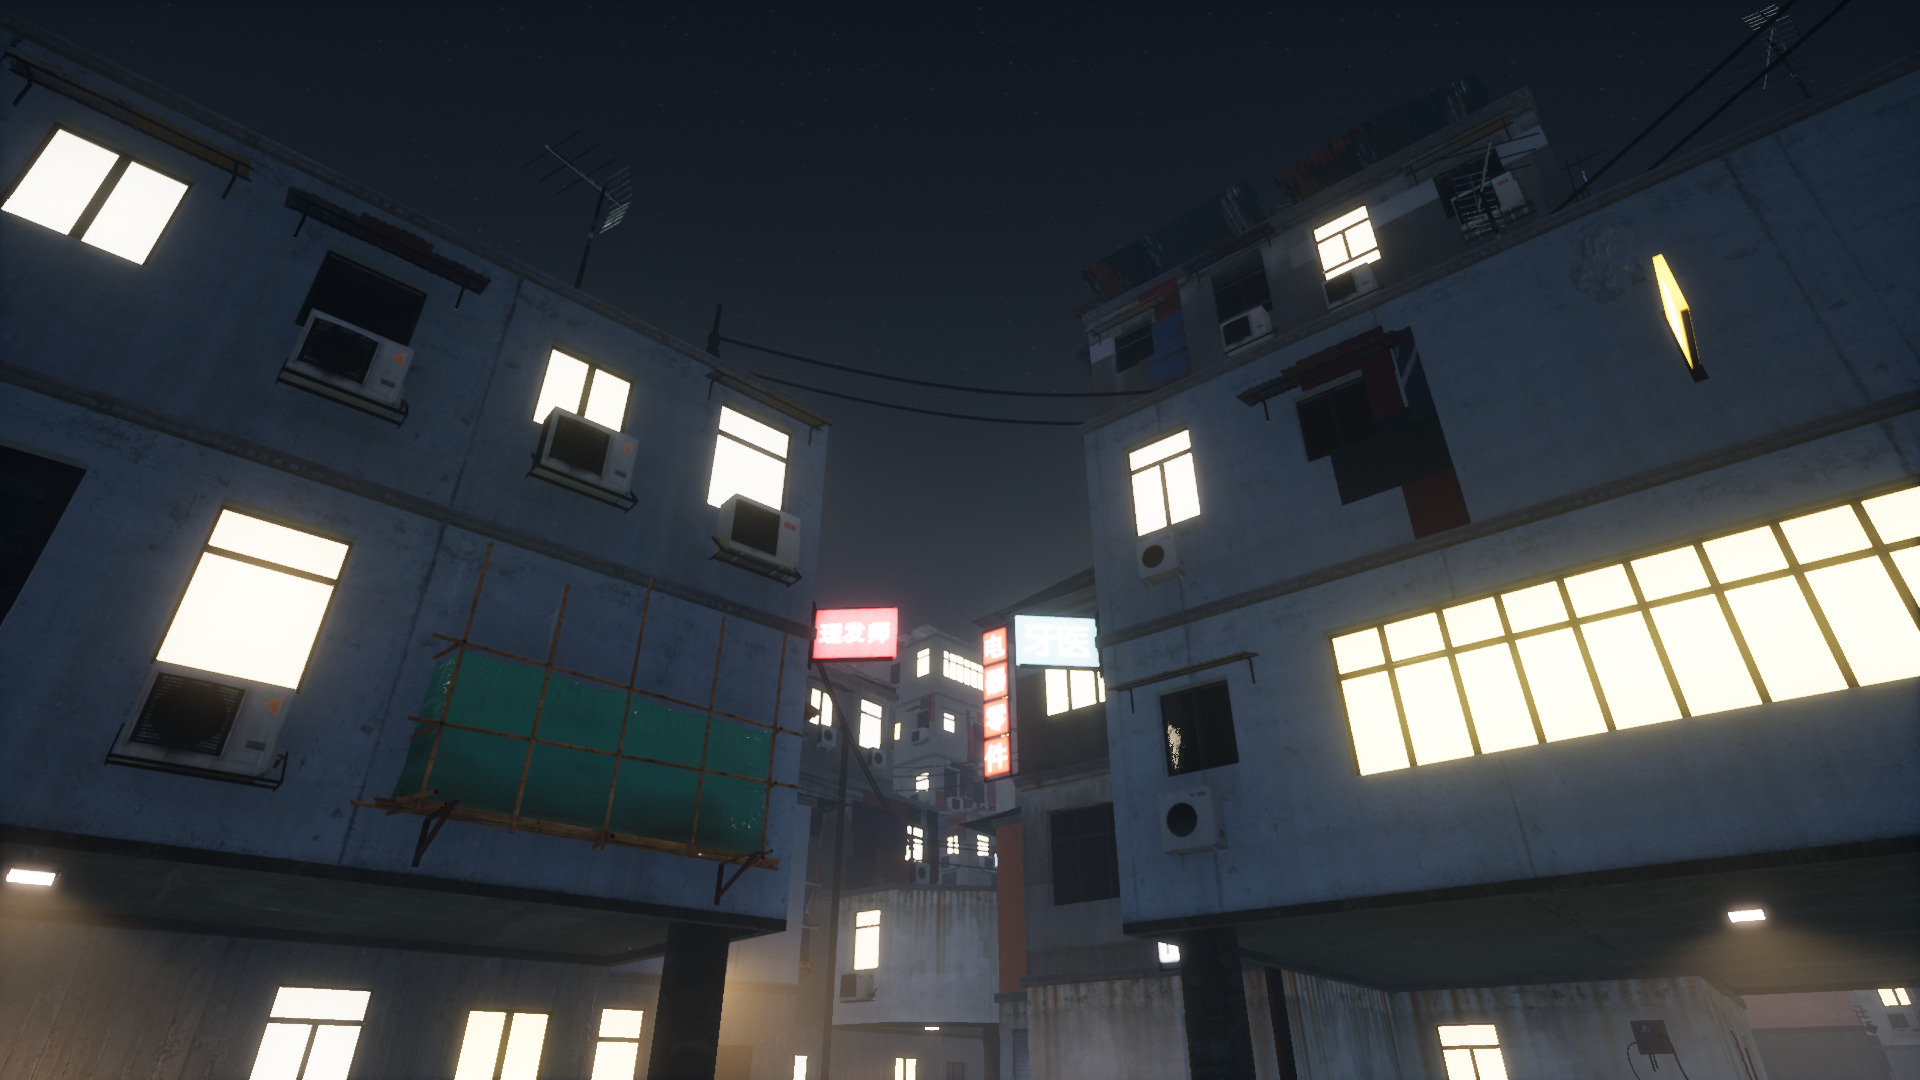
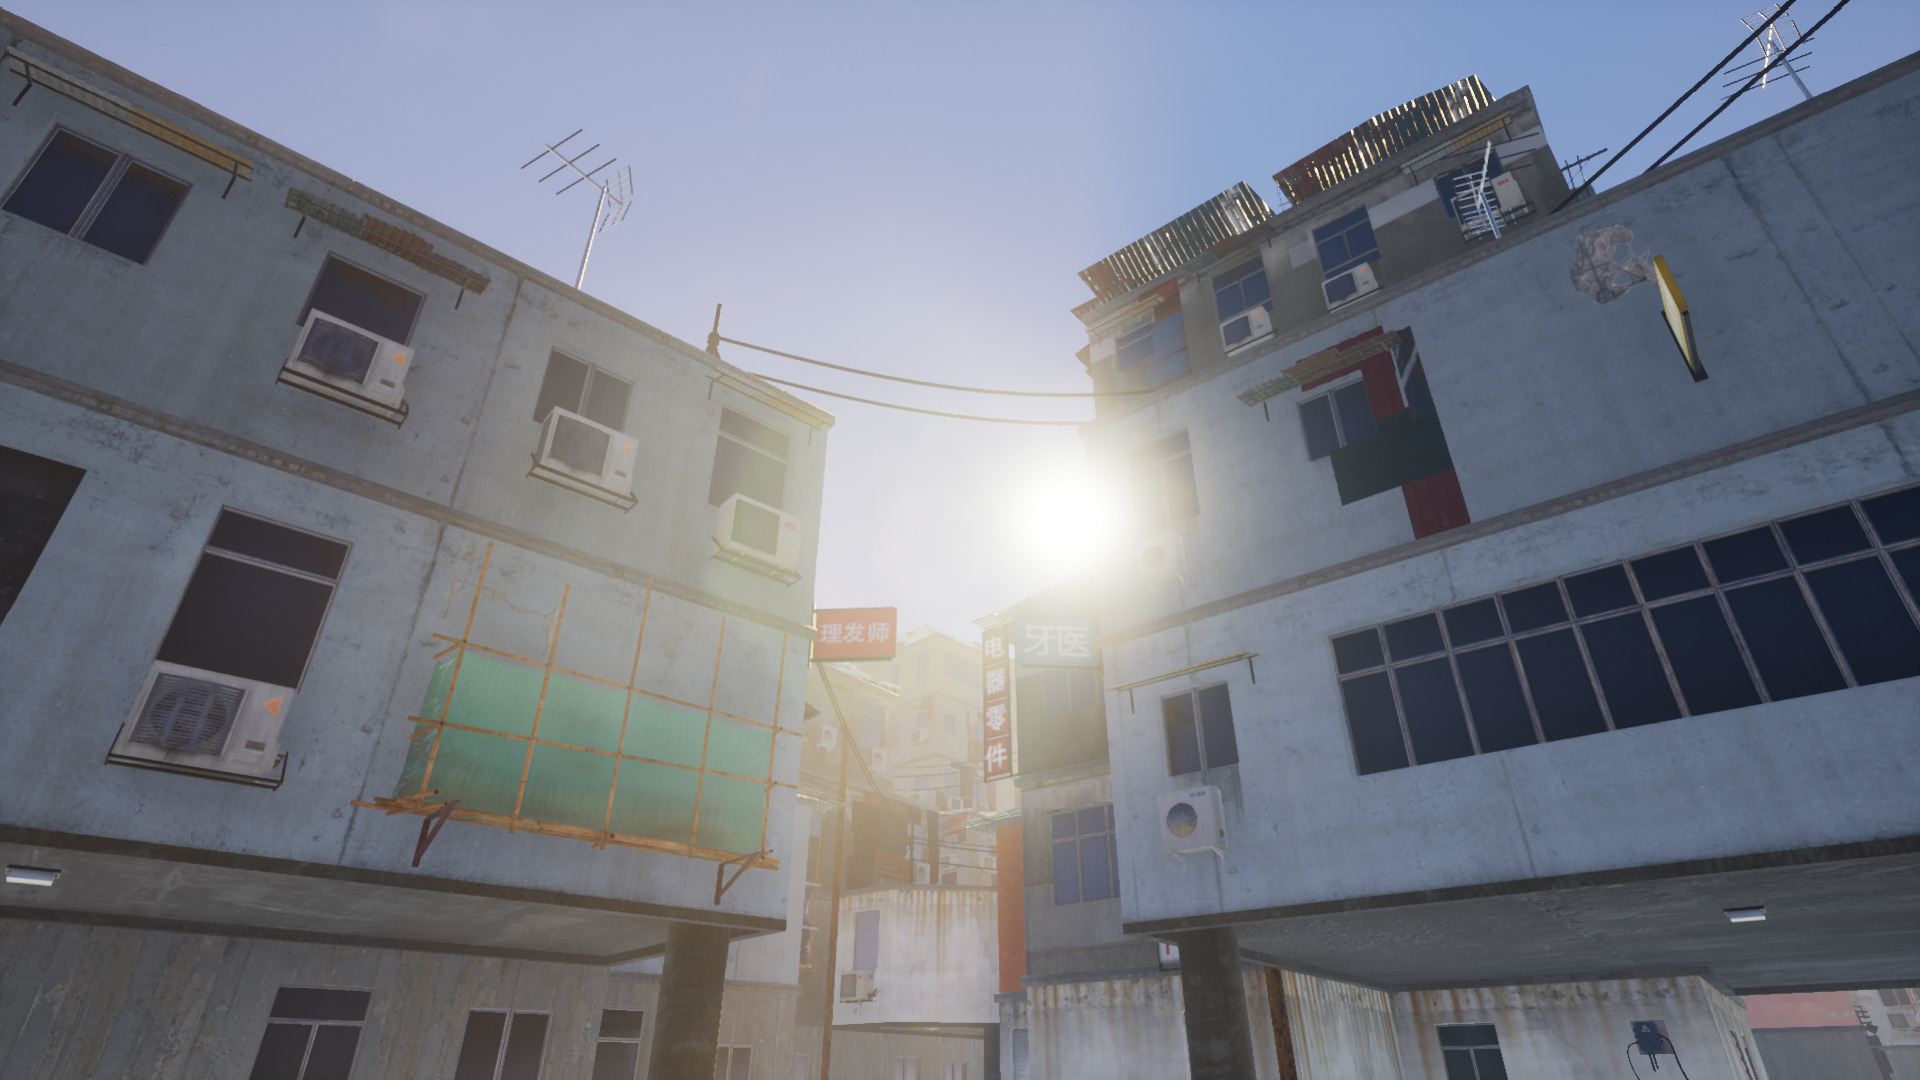
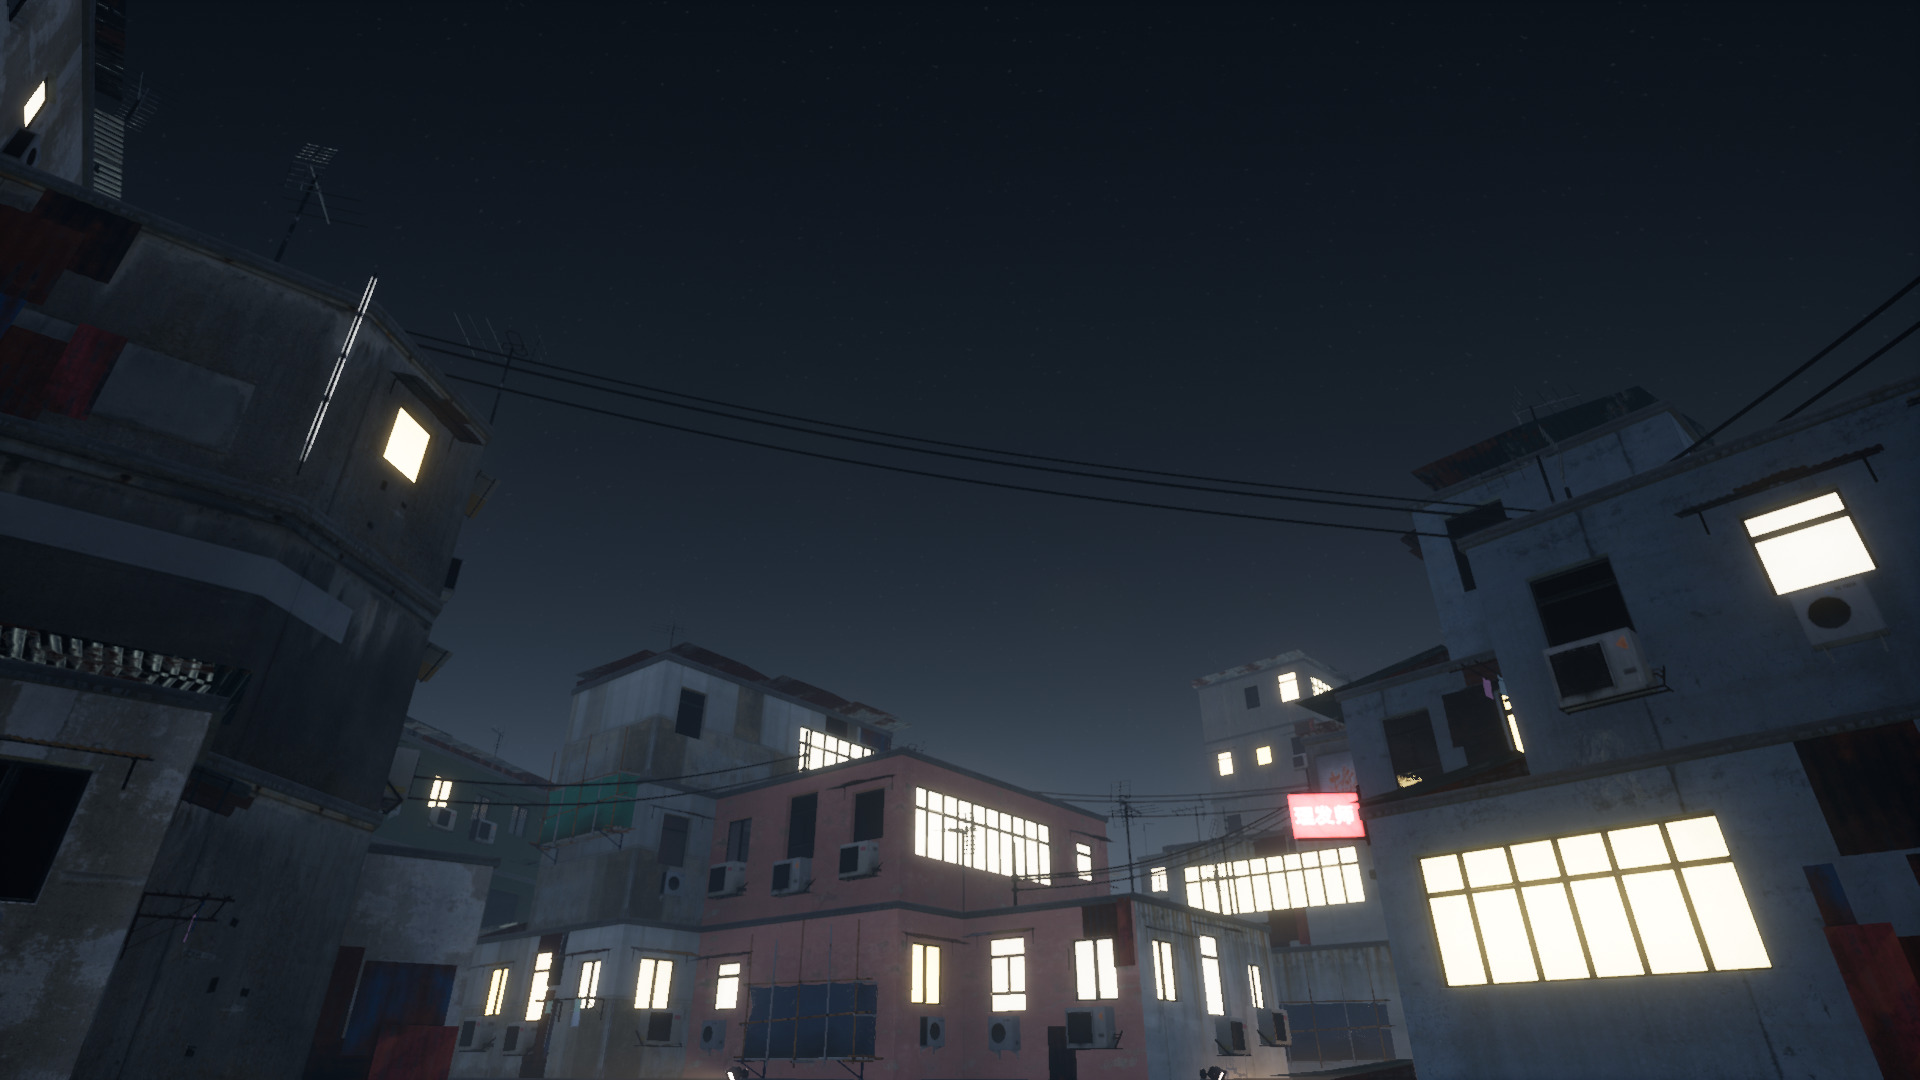
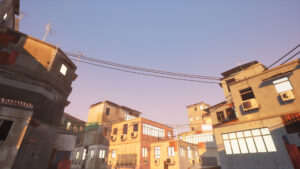
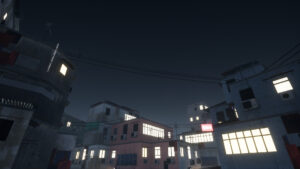
I wanted the final scene to be a little more dynamic. So I created different lighting setups for dawn, noon, evening and night, that can be switched between via a button press. I planned the window and sign materials with emission maps that can be used when it turns dark.
Also, all windows get a random value stored in their vertex colors when they are generated. If it exceeds a certain threshold, it will be lit at night, so not every window is going to light up. I can also use this vertex-color value to determine a random amount of emission and a random light color.
Finally, there are some lamps with attached spot-lights placed on the outside of the building to light up the dark streets.

Morning 
Noon 
Evening 
Night
Inspiration
One semester earlier, I made a Maya Tool that got me more interested in procedural generation of buildings. It is a simple Python script you can easily load via Maya’s plugin manager. Although it is quite rudimentary, it taught me a lot about Maya scripting and gave me ideas on how to structure these kinds of procedural projects.
